Difference between revisions of "Slicer3:Diffusion Editor"
From NAMIC Wiki
m |
m |
||
| Line 9: | Line 9: | ||
== Goals / What it can (in a while)== | == Goals / What it can (in a while)== | ||
| − | # Load a DWI dataset. | + | # Load a DWI dataset. If you load any other type of dataset the DWI Gradient Editor will be disabled. |
| − | |||
# Choose the Measurement Frame. | # Choose the Measurement Frame. | ||
## Negative: Select the columns you want to negative. | ## Negative: Select the columns you want to negative. | ||
Revision as of 21:05, 5 December 2007
Home < Slicer3:Diffusion EditorInterface
This screen shots show how the Interface will look like.
- Interface
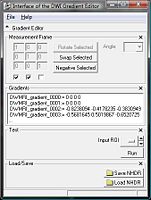
1st Version
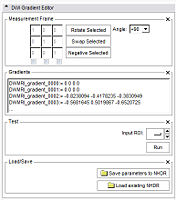
2nd Version, embedded in Slicer3


Goals / What it can (in a while)
- Load a DWI dataset. If you load any other type of dataset the DWI Gradient Editor will be disabled.
- Choose the Measurement Frame.
- Negative: Select the columns you want to negative.
- Swap: Select two columns you want to swap.
- Rotate: Select one column you want to rotate by an angle you can
- choose from a given set of values.
- set yourself.
- Define the Gradients.
- If the DICOM header has the information about the gradients, the editor will put them in the text field.
- If there is no information about the gradients, the GE gradients will be displayed by default.
- You can copy/paste your own gradients in the text field.
- Run the test. To see if the chosen parameters are reasonable, you can run a test that computes the Tractography Seeding.
- Save the parameters as a NHRD File.
- Load an existing NHRD File and run the test.